One of our family Christmas traditions since my husband was a small boy was making home-made hard candy to share with the friends and family. So this year I wanted to share the tradition with my Daughter-in-Law so that she could make the candy with my granddaughter when she gets just a little older. I also though we could use silicone molds that I bought several years ago to make the candy into fun holiday shapes.Then YouTube took the whole candy making for kids (and some adults) to a whole new cool level. I watched the attached video and had to add these wonderful Lego molds to my collection and start making Christopher’s favorite flavor of candy.

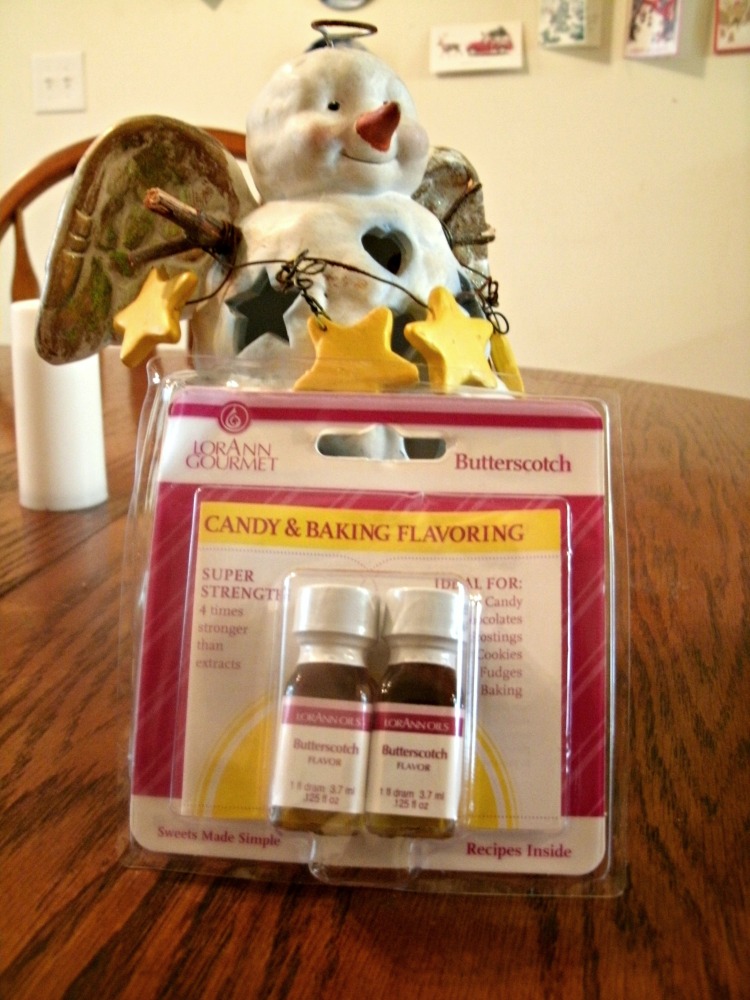
Candy flavoring comes in small bottles of oils that can be used for making almost anything that you eat with out the use of alcohols that are in most extracts. The flavor and color are concentrated in each bottle. So for every batch of candy you need one bottle of your favorite flavoring. I made a total of 5 different flavors this year, root beer, apple, orange, cinnamon, and butter scotch. Each batch is about 1/2 of a pound of finished candy and that is every mold you see above filled to at least half. I did reduce the amount of syrup in the heart molds to half full because they were very hard to remove and to big to pop in your mouth.
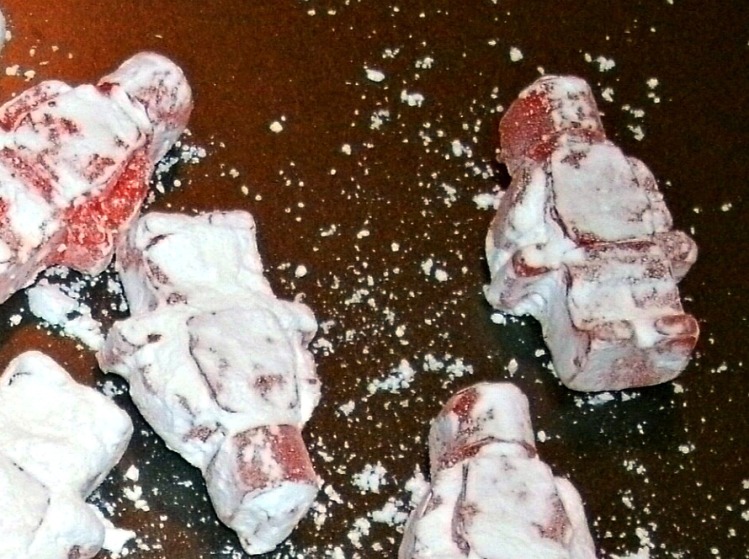
Then after pulling the candy from the molds it is wise to dust them with powered sugar so that they will not stick together and this is really important if you want to mix the flavors into gift bags. They will not store for long in high humidity without it.
So here are the very easy to fallow directions on how to make hard candy and the way to test your sugar syrup with out a candy thermometer…Each box of flavoring comes with a recipe booklet for several things you may want to use this flavoring for. The hard candy recipe is also on the back of the box.
Hard Candy regular Batch
2 cups granulated sugar
2/3 cup light corn syrup
3/4 cup water
1 dram or teaspoon flavoring
food coloring or gel… gel does not seem to burn at these high temperatures.
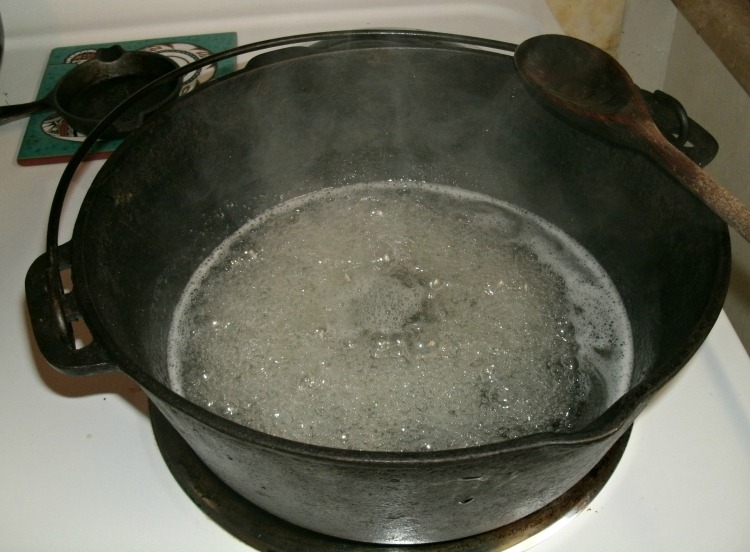
Combine sugar, corn syrup, and water in a 2 quart saucepan. I use my cast iron dutch oven. Stir over med heat until sugar dissolves. Bring mixture to a boil without stirring. When syrup reaches 260 degrees F. add coloring. Do not stir ;boiling action will blend color for you. Remove from heat at 300 deg F. When drops of syrup form a hard brittle threads in cold water ( Hard Ball stage). When boiling action stops, stir in flavoring. Pour syrup into lightly oiled candy molds or on a greased cookie sheet. When cool break into pieces and dust with powered sugar to prevent sticking. Store in an air tight container or Ziplock bag.
This is what the process looks like
After the sugar reaches a rolling boil I added my gel food coloring of red in this batch… I think I used about three little drops to get a nice light red color.

Now the wait is on. I raise my burner heat at this point to med high or about 8 this decreases the amount of time it takes the sugar to reach the crack stage. The syrup will go from what looks like water boiling to a foamy tinny bubble stage as it heats then finally when you reach about 300 degrees the syrup will have large clear thick bubbles all the way to the edge of the kettle. This process takes about 10 minutes if you do not stir the syrup, longer if you can not resist the urge to stir.
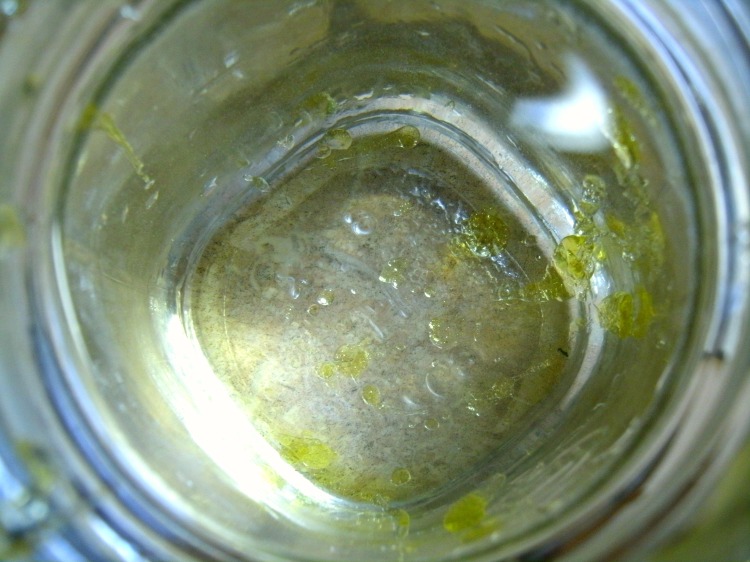
When you think you are close to the correct temperature, or any time you are nosy, you can check the stages of the sugar with a cold water test. Fill a clear glass over half way full of cold water. With a non plastic spoon, preferable a wooden one, drip a small amount of syrup into the cold water…. DO NOT GET THE SYRUP ON YOUR SKIN IT IS VERY HOT AND STICKY! Burns will happen and skin will be lost when the sugar sets up. If the syrup looks like this it is not ready yet.
wait a while longer and test again. When the syrup is ready is will almost instantly get hard… threads of what looks like glass will appear on the glass, in the water, on the counter… just about every where.
Remove kettle from stove and let the sugar cool until the boiling stops add flavorings and stir. It may pop and hiss a little when you add the flavorings but should not burn. Then pour carefully into molds or a cookie sheet for breaking up later. I did not spray any of my molds and the released fine… if working on a cookie sheet of metal I would spray with a cooking spray.
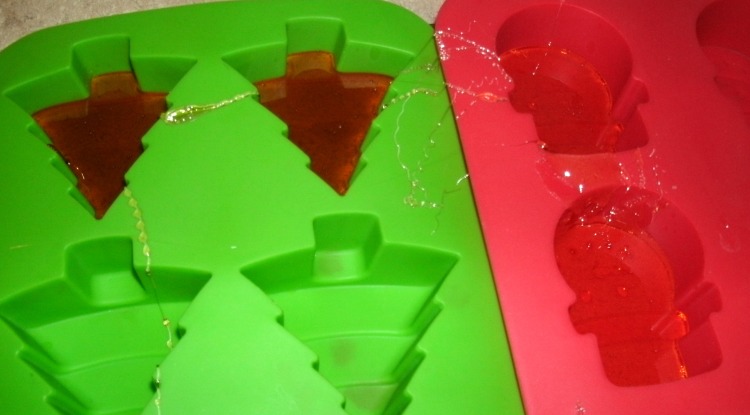
You can see the sugar threads here between each tray. Let the trays cool for several minutes I left these for about 30 minutes. Then remove and dust with powered sugar.
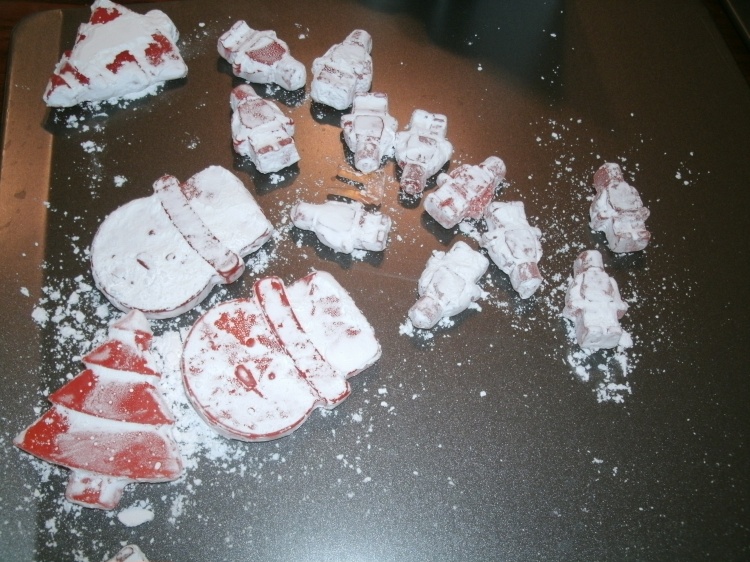
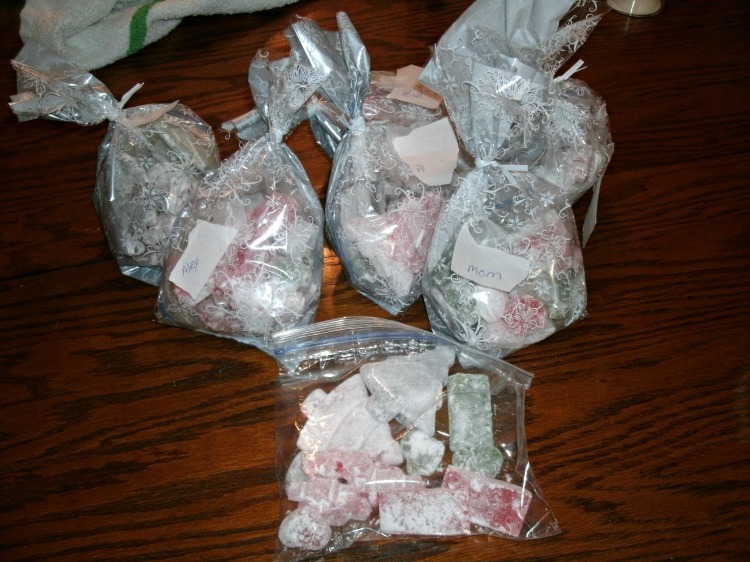
We rub off the excess sugar and put in a Zip Lock bag. Then after every flavor has cooled I take handfuls of the different candy shapes and flavors and fill small treat bags. Each bag had at least one huge decorative candy in the bag and about 15 smaller pieces. The Snow Men and Large Lego man were my favorite to add to each bag. I understand that they are too big to fit in you mouth but they look great when arranged in the window of the gift bag. They can still be eaten but would need broken into smaller pieces.
So after about 2 hours my Daughter-in-law and I finished up started to clean up my sugar covered table and finally tasted our hard work. It all tasted great and my favorite is always cinnamon. The joy of making this candy is it is great for parties at Halloween you could make grape purple bats, or orange pumpkins, at Valentines day make red cinnamon hearts, At Easter make pink or yellow eggs and share them. Use the large pieces as edible cupcake topper or cake decorations. The ideas are limitless and if you want you can also make the Gummies that are in the video below… so Silicon Molds are some of my favorite kitchen gadgets and always spark my creativity.


Yummm my teeth sort of hurt looking at these pictures, but the candies look amazing! Such fun molds.
LikeLike
Ive always wanted to try making hard candy. Hopefully next year I’ll have the chance…of course I’m saying that about a lot of things this year. Merry Christmas. Hope you and your family are blessed this year.
LikeLike
It’s good to see traditional activities being passed onto a new generation.
LikeLike
Those look so great!!
LikeLiked by 1 person
Amazing and great work, looking very festive, looks like you too are enjoying a lovely time.
LikeLike