The final and best step of my wine making project is the racking and bottling ( and of course tasting) of the final project. This has really been the most fun thing I have learned in years and I hope that you try it too. If you missed the previous posts her are the links to see the entire process. Dandelion wine, and Wine Making part 2.
At the end of my last wine post we finished mixing the ingredients for making the wine and starting the fermentation process. The wine looked and smell sweet and we were waiting the ten days to taste test and check the alcohol levels.
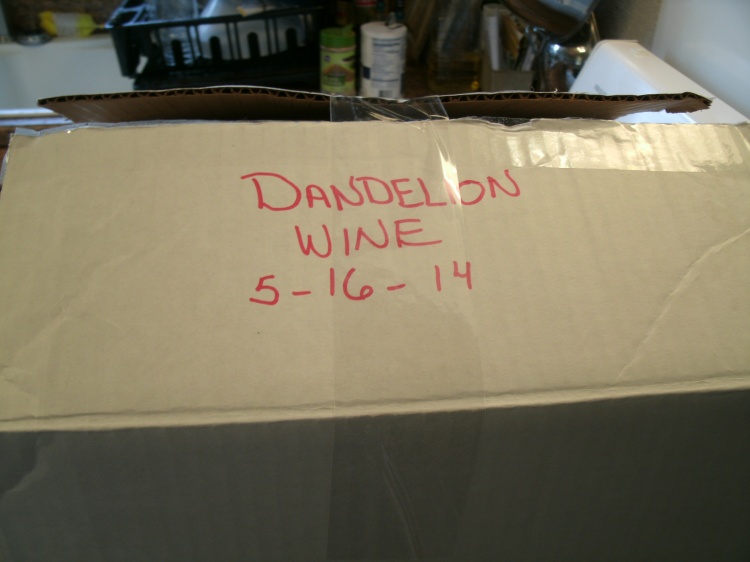
So this short post starts at the ten-day mark and goes through getting the sediment out of the wine and bottling and ageing the wine. Working with about 3 gallons is the perfect amount of wine if you want to make just one case of wine. A case of 12 bottles is the most cost-effective way to buy your bottles either mail order or from a local retailer. You get enough wine to drink and share and can keep the box to store the wine in. I like to keep information on the box such as the kind of wine the date made and anything new that you try out on that batch.

As you will see I bought screw cap bottles and there are pros and cons to this.. They do not store as well as bottles that are “corked” and need stored in a way that the tops do not become damaged. In my case storing them in the box takes care of this problem. I also bought these because I am a beginner and wanted to reuse the bottles and caps if I make a huge batch of dandelion vinegar. If that happens I could just open the tops and pour the vinegar down the drain and start a new batch. I also did not want to by an expensive bottle corking device and a hundred corks at a time. I spent about$ 1.50 more on the case to get the screw tops and can order more of the tops if they get broken or do not seal well. I got most of my supplies from Northernbrewer.com .
The first step before bottling is to rack the wine to help remove sediment that collects at the bottom of the Primary carboy while the fermentation is going on. Most wines need racking at lest three times, we did our two times and I am sure that in the future I will do all three racking processes. In our case we placed the carboy on the counter the night before we wanted to bottle so that anything we stirred up with moving the bottle would have time to resettle over the nine hours we slept.
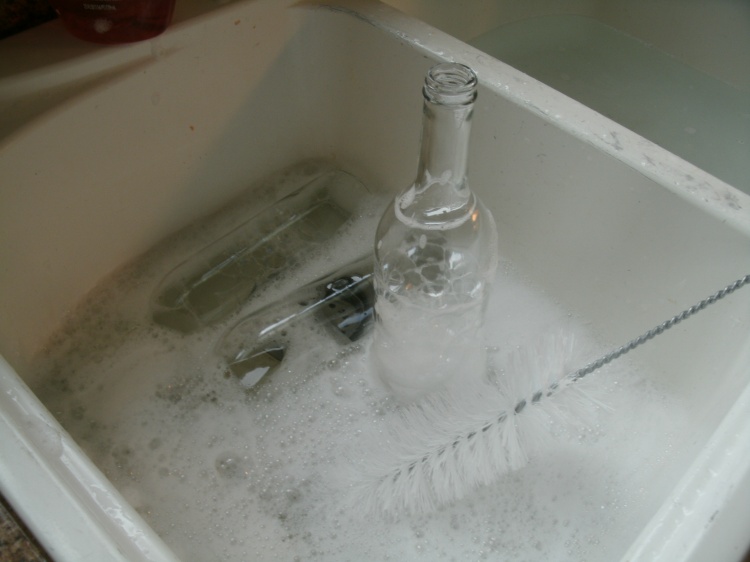
The next morning bright and early I got up and washed all the bottles, lids, siphon hose, two buckets and hydrometer with hot soapy water and rinsed them all in a sanitize water mixture.

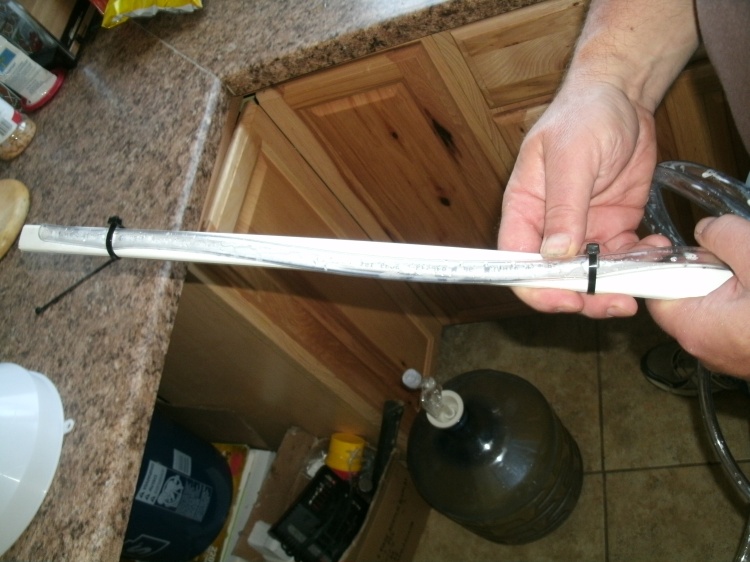
While letting everything dry, Tom and I got our siphon hose ready to use. The trick to racking the wine is that you do not want the hose to sit on the bottom of the carboy and suck up all the must that is left on the bottom of the bottle. We rigged up a way to keep the hose from moving loosely around the bottle. We attached the hose with zip ties to a piece of washed wood and placed the hose about 1/2 inch from the bottom of the wood molding.The bottom of our bottle has ridges and traps a large amount of the sediment makes racking quite easy.

The next step is to siphon the wine from the carboy into a bucket to check the taste, alcohol content and remove the sediment. It does not take long to fill the bucket and do a taste and alcohol test with the hydrometer. The wine was running at about 10.5% alcohol at this point and was still fermenting and smelled yeasty. So Tom and I returned the remainder of the wine with out the sediment back into the carboy for about 4 more days.

At 4 days we retested everything. The wine tasted better, smelled less yeasty, and the alcohol content was up to about 11.0% so we were pretty happy. I suggested that we go a head and bottle knowing that the yeast was almost done as the bubbling had all most stopped by day 14. If you plan to bottle at this point I suggest that you add two or three more campdon tablets to the wine to stop the fermentation process and make sure all of your equipment is sterile before bottling. I forgot this step and may regret it in a few months.
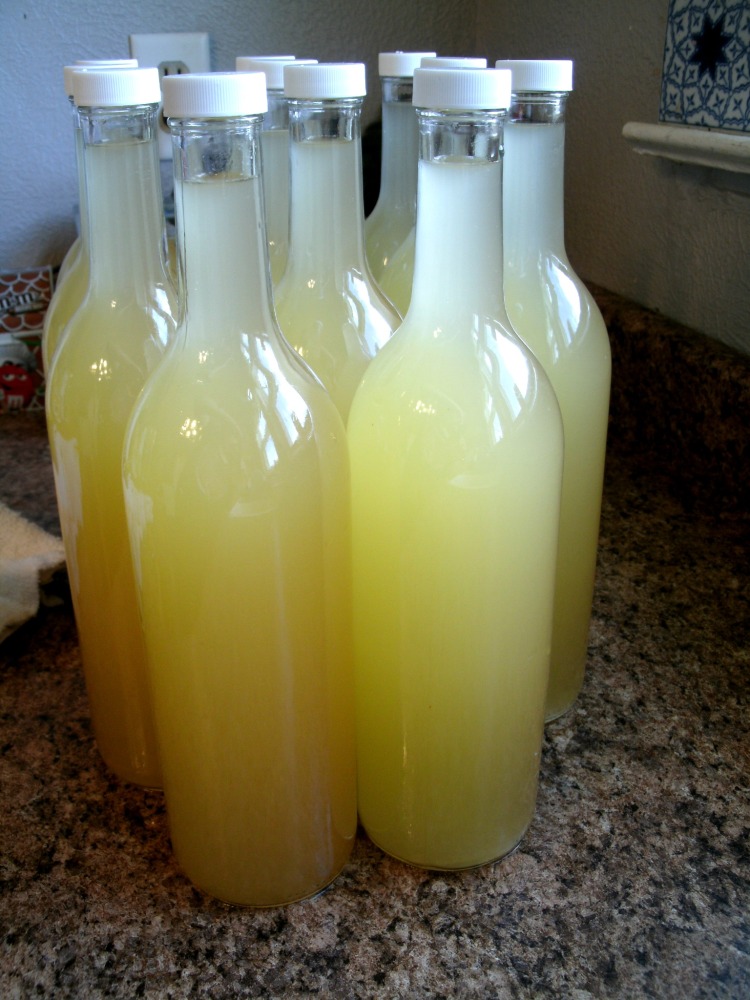
Next we took one bucket and placed it full of wine on the counter and placed one on the floor empty. Inside the empty bucket I placed one of the empty bottles that we washed and a sanitized. I siphoned a little wine into the hose and began filling the bottles inside the bucket to prevent a huge mess on the floor if I spilled. Pinching off the tube when the bottle was with in an inch of the neck ring. I repeat this process over and over until I had all twelve bottles full. Then I added twist tops and washed the bottles before storage.

I put a date on the top of each bottle and at some point will make labels for the wine that I plan to give away as gifts. The bottles will need to rest about 6 months to get the full flavor of all the ingredients blended. So these bottles return to their box case and head down stairs for the summer. I will also know how much more sediment will appear at that point and see what I can do better with the racking process. The wine should retain the cloudy yellow appearance even after aging. So this is one of the few non clear wines I will be making.
For memorial day we did open one of the bottles and share it with my son and his wife. I enjoyed the wine but found it almost to sweet even after using the Hydrometer to help control the dry/sweet mixture. I noticed that when opening the bottle that their was some pressure in the bottle that indicates that my wine was still fermenting in the bottles. This is the mistake I made not adding the campdon tablets. Hopefully in six months,it will taste less sweet as the yeast finishes up its job in the bottles and finish off with a nice 11.5 alcohol content.
The worry with bottling still fermenting wine is two fold. First the wine may continue to ferment and not be able to release the CO2 anywhere and may explode the bottles or caps( what a huge mess) and it is possible that this mixture may not stop at wine and may continue to change into Vinegar, wasting my efforts. I will let you all know what happens in about 6 months!
Thanks for following along on my journey to learn more about how fermentation works and what we can do with it. I have learned so much so far and hope to move on to pickled beets and pickles next if my garden allows. Then maybe around the end of summer a batch of water melon wine for New Years. Something is always cooking here at Mountain Mama so join in.

It’s been fun following this process. I hope you end up with wine, not vinegar and no explosions. I like the fact that you are writing about this while still experimenting. I think that should help encourage people who are thinking about starting this adventure themselves.
LikeLike
it has been a great way to learn and think about what I have learned and share the road with everyone along the way… as always thank you Dan
LikeLike
I can’t wait to hear about the watermelon wine. Another idea for this batch of dandelion wine would be to make cocktails out of it. The cocktail may help to cut the sweetness, but I don’t know much about this type of wine. Here’s a link to a recipe:
http://enlightenmentwines.com/news/pdt-releases-dandelion-wine-based-cocktail-using-enlightenment-wines-memento-mori-dandelion-wine/
LikeLike
Thanks Dolly I will look into it and yes I have thought that maybe this should be a wine sprinter something like that but I hope in six months it tastes even better
LikeLike
I would love to try making wine someday, although I don’t drink it. My husband likes it and perhaps when my kids are a little older they’ll have a more refined pallet than their old ma. I loved this entire process and even though it does seem a bit intimidating, you made it look fun and rewarding.
LikeLike
Tilly you bet it was fun and I learned so much
LikeLike
You have such a fun blog. My father made blackberry wine a few times and I tasted it (when he wasn’t looking) but I haven’t had dandelion wine…yet!
LikeLike